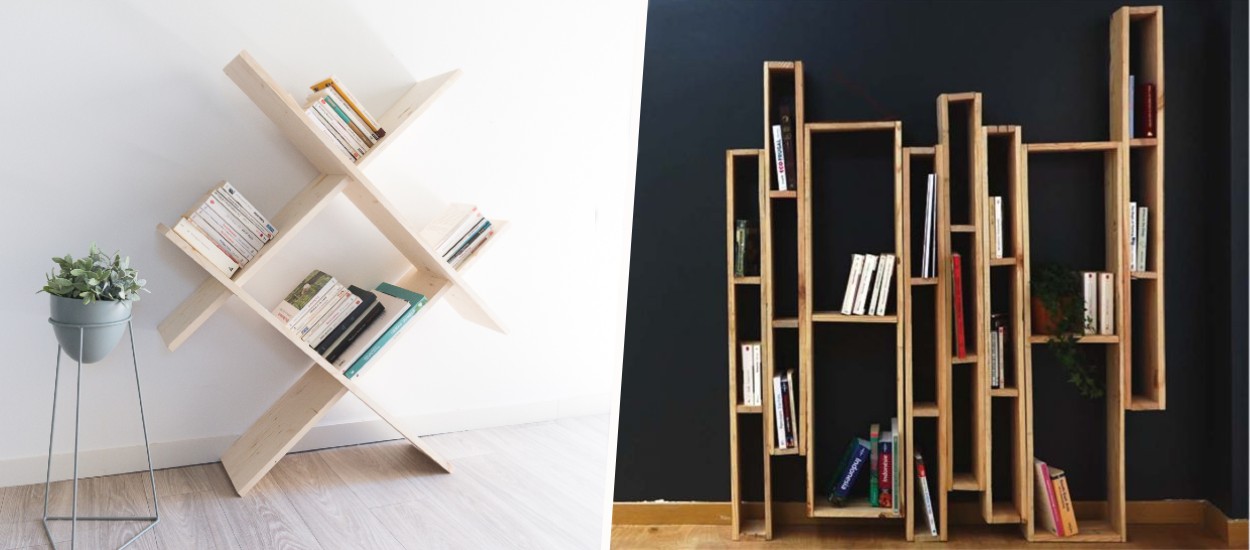
Introduction to Custom Shelving Units
Custom shelving units are a fantastic way to add personality, functionality, and style to your home. Whether you need extra storage in your living room, a unique display area in your home office, or bespoke solutions for your kitchen, creating your own shelving units can be both rewarding and practical. Not only do they help maximize space, but they also provide a tailored solution that fits your specific needs and design preferences.
In this article, we will walk you through the steps of making your own custom shelving units. From planning and material selection to assembly and finishing touches, you’ll learn everything you need to know to create beautiful and durable shelves.
Planning Your Shelving Units
The first step in creating custom shelving units is to plan out your design thoroughly. Proper planning ensures that the final product meets your expectations and functions effectively. Consider the following factors:
- Purpose: Determine the primary function of the shelves. Will they be used for storage, display, or a combination of both?
- Location: Decide where the shelving units will be placed and measure the available space accurately.
- Style: Think about the style that will complement your home decor—whether it is modern, rustic, industrial, or minimalist.
- Weight Capacity: Consider the weight of the items you plan to store or display. This will influence your choice of materials and construction method.
Choosing the Right Materials
Selecting the right materials is crucial for the durability and appearance of your custom shelving units. Here are some common materials to consider:
- Wood: Solid wood, plywood, and MDF are popular choices. Solid wood offers a timeless look and durability, plywood is strong and stable, while MDF is cost-effective and smooth.
- Metal: Steel and aluminum are ideal for an industrial or modern look. They are strong and can handle heavy loads.
- Glass: Glass shelves add a sophisticated touch and are perfect for display purposes. However, they are not suitable for heavy items.
Consider combining materials for a unique look, such as wood shelves with metal brackets.
Gathering Tools and Supplies
Before you begin building your custom shelving units, gather all the necessary tools and supplies. This will streamline the construction process. Here’s a basic list:
- Measuring tape
- Pencil
- Level
- Saw (circular saw, jigsaw, or handsaw)
- Drill and drill bits
- Sandpaper or an electric sander
- Screws and brackets
- Wood glue
- Finishing materials (paint, stain, varnish)
- Safety equipment (gloves, goggles, ear protection)
Cutting and Preparing the Materials
With your design finalized and tools ready, it’s time to cut and prepare the materials for your custom shelving units:
- Measure and Mark: Use the measuring tape and pencil to mark the dimensions of the shelves on your material. Double-check your measurements to avoid any errors.
- Cutting: Using the appropriate saw, carefully cut the materials according to your measurements. Ensure you follow safety guidelines while cutting.
- Sanding: Smooth the edges and surfaces of the cut pieces using sandpaper or an electric sander. This step is essential for a polished look and safe handling.
Assembling the Shelving Units
Once the materials are cut and prepared, it’s time to assemble your shelving units. Follow these steps:
- Dry Fit: Before permanently attaching the pieces, do a dry fit to ensure everything aligns properly.
- Pre-drill Holes: Pre-drill holes for screws to prevent the wood from splitting. This is especially important for hardwoods or thinner materials.
- Apply Wood Glue: Apply wood glue to the joints for added strength. This step is optional but recommended for a more durable structure.
- Screw and Secure: Use screws to attach the shelves to the brackets or supports. Ensure the screws are tight and the shelves are level.
Finishing Touches
To complete your custom shelving units, add the finishing touches that will enhance their appearance and longevity:
- Filling Holes: Use wood filler to fill any screw holes or imperfections. Sand the filled areas smoothly once dry.
- Painting or Staining: Apply paint, stain, or varnish to the shelves to match your decor and protect the wood. Follow the manufacturer’s instructions for the best results.
- Sealing: Consider applying a clear sealant or polyurethane coating for added durability, especially if the shelves will be exposed to moisture or heavy use.
Installing Your Custom Shelving Units
After constructing and finishing your shelves, the final step is to install them in your desired location:
- Locate Studs: Use a stud finder to locate the studs in your walls. Securing your shelves to studs provides additional support.
- Mark and Drill: Mark the positions for the brackets or supports on the wall and drill pilot holes.
- Attach Brackets: Secure the brackets or supports to the wall using appropriate screws. Ensure they are level and securely fixed.
- Install Shelves: Place the shelves onto the brackets and secure them in place if necessary.
Maintaining Your Custom Shelving Units
Maintaining your custom shelving units is essential for their longevity and appearance:
- Regular Cleaning: Dust and clean the shelves regularly to prevent buildup.
- Inspect for Damage: Periodically check for any signs of damage or wear and repair them promptly.
- Reapply Finish: Reapply paint, stain, or sealant as needed to keep the shelves looking fresh and protected.
By following these steps, you can create custom shelving units that not only meet your storage needs but also add a unique touch to your home decor. Whether you’re a seasoned DIY enthusiast or a beginner, this project is a fantastic way to improve your space with personalized, functional, and stylish solutions.


